Product Photography for E-Commerce: Setup, Lighting, and Editing Tricks
In today’s digital marketplace, the way a product looks online can make or break a sale. A crisp, clean, and well-lit product image has the power to attract customers, build trust, and drive conversions. That’s why product photography has become one of the most essential parts of e-commerce businesses.
Whether you’re a small business owner, a beginner in photography, or someone interested in pursuing photography as a course, this blog will walk you through the key aspects of product photography for e-commerce. This article provides you with all your needed knowledge about space setup lighting techniques editing tips both for beginners and experts.
Let’s dive into the world of still photography and understand how to capture products like a pro.
Why Product Photography Matters in E-Commerce
Think about your own online shopping experiences. What draws your attention to a product? More often than not, it’s the photo. Good product photos:
- Help customers see the product clearly
- Highlight important features
- Show the product from different angles
- Build trust by making the listing look professional
- Influence the customer’s buying decision
Do you want free career counseling?
Ignite Your Ambitions- Seize the Opportunity for a Free Career Counseling Session.
- 30+ Years in Education
- 250+ Faculties
- 30K+ Alumni Network
- 10th in World Ranking
- 1000+ Celebrity
- 120+ Countries Students Enrolled
With physical shopping, customers can touch, feel, and try products. In online shopping, high-quality images are the only way they can “experience” the product. This is why learning product photography is valuable, whether through a photography course or self-practice.
Essential Gear for Product Photography
Starting product photography does not require high-priced camera equipment together with studio facilities. The right techniques combined with basic setup equipment enable users to produce excellent results. Here’s what you need:
1. Camera
Modern smartphones can produce high-quality photos even though DSLR or mirrorless cameras enable users to fully manage their settings and image quality. If you’re planning to learn photography seriously, enrolling in a diploma in photography will help you understand how to get the best out of your equipment.
Book Now →
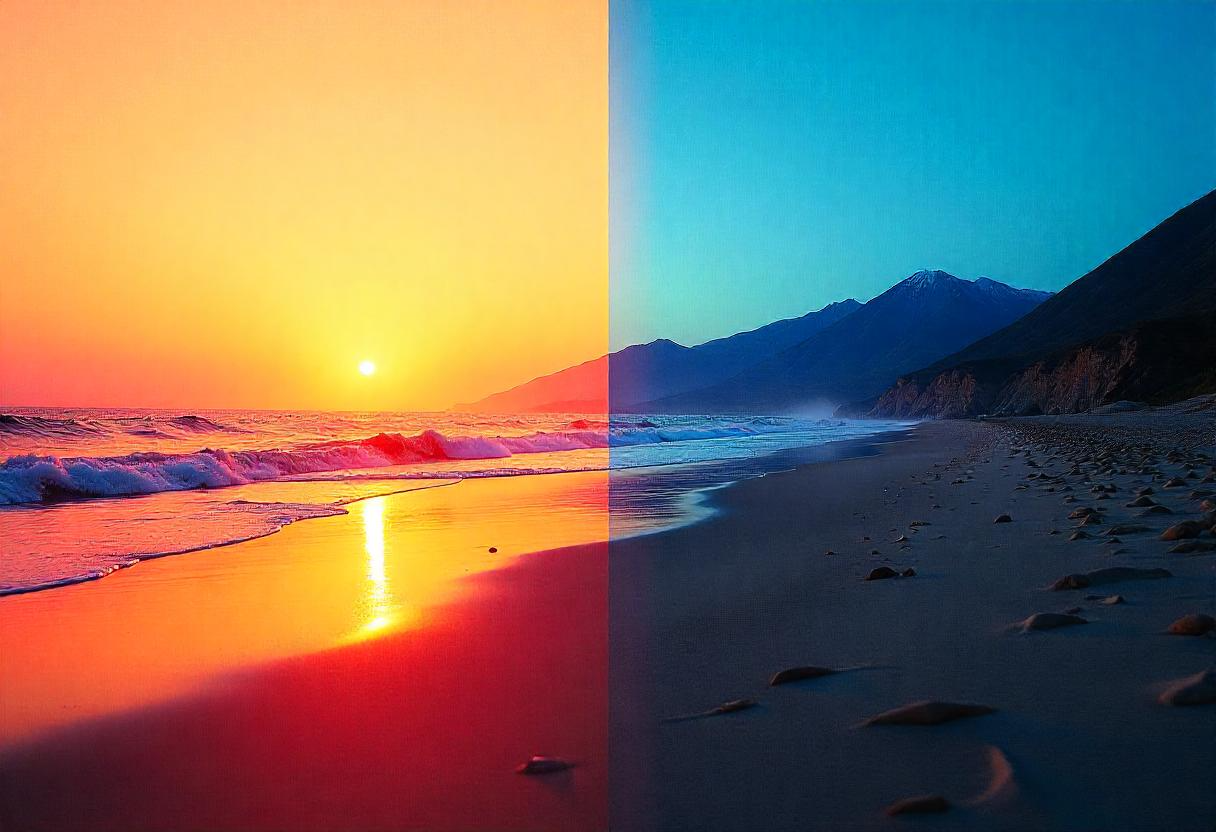
Read Also: Golden Hour vs. Blue Hour: Which is Better for Photography?
2. Tripod
Your photographs remain steady and do not become blurry when you use a tripod. A tripod allows users to sustain uniform framing when photographing multiple products from different angles.
3. Lighting
Lighting is the backbone of product photography. You can use:
Do you want free career counseling?
Ignite Your Ambitions- Seize the Opportunity for a Free Career Counseling Session.- Natural light: Ideal for beginners. Place your setup near a window.
- Artificial light: Use LED panels, softboxes, or ring lights for a consistent look.
4. White Background
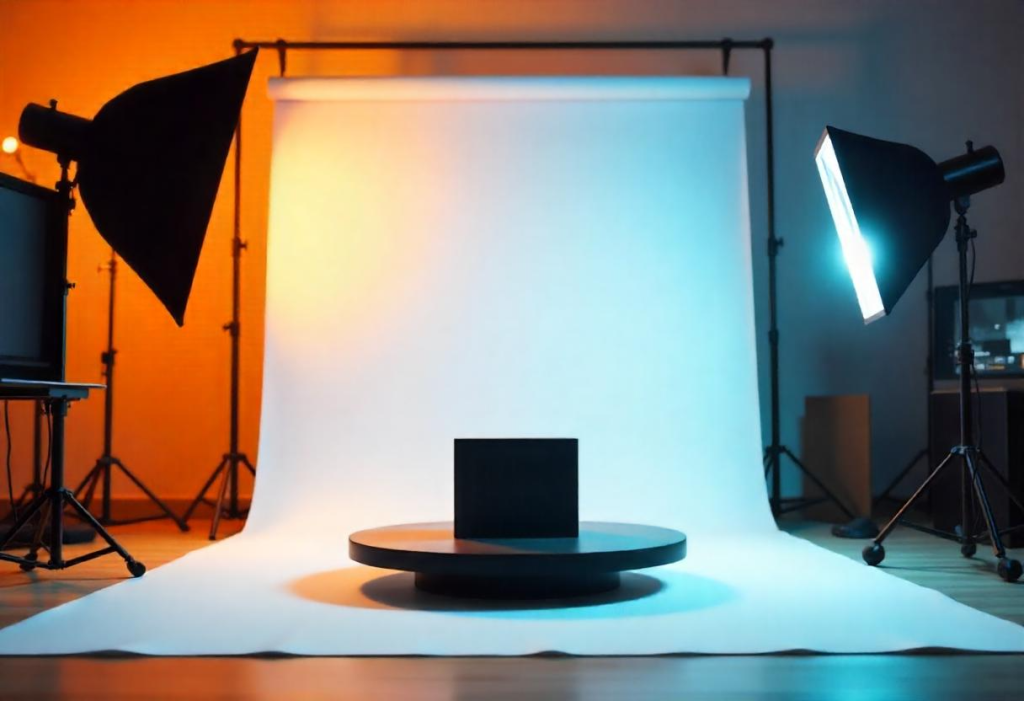
A pure white background enables viewers to concentrate on the featured product throughout the image and boosts post-production work. A white sheet or poster board or lightbox should work as a background control.
5. Reflectors and Diffusers
Shadows become manageable through these tools and the light becomes gentle. Additionally, you can utilize handmade reflectors created with white cardboard.
Setting Up Your Space
An impressive product image requires no large studio space. Simply use a table that stands by a window or an area in your room. Finding either a window-side table setup or using a tiny corner area in your room serves as proper workplace. Here’s a step-by-step guide:
Step 1: Choose Your Shooting Area
Identify a controlled location with bright illumination for product photographing purposes. Natural light provides optimal performance between the early hours of the day and during afternoon hours.
Step 2: Set Up the Background
Two vertical and horizontal placements of your white background will achieve a professional seamless look. The product appears more prominent due to this configuration which minimizes visual interferences.
Step 3: Position the Product
Your product should take up the central area of the background. The product must sit without wrinkles while remaining wrinkle-free if made from fabric and in proper alignment with both vertical and horizontal lines.
Step 4: Adjust the Camera
Put your camera onto the tripod position. You should utilize camera gridlines for keeping your photograph level. You need to apply both a wide aperture setting between f/8 to f/11 and adjust the ISO value for ideal exposure.
Mastering Lighting Techniques
Lighting can make a huge difference in how your product looks. Poor lighting can create harsh shadows, dull colors, and reduce the overall appeal. Here are some techniques:
1. Natural Light Photography
If you’re just starting out, using daylight is the most budget-friendly and effective method. Place your product next to a large window. Use a white reflector on the opposite side to bounce light and soften shadows.
2. Softbox Lighting
Softboxes are perfect for controlled lighting. They diffuse the light evenly and eliminate harsh shadows. You can use two softboxes—one on each side—for a balanced look.
3. Backlighting
Backlighting adds depth and gives a professional feel. Place one light source behind the product, and use fill lights in the front to avoid underexposure.
4. Overhead Lighting
Ideal for flat lays, overhead lighting evenly illuminates the product from the top. Make sure the light isn’t too harsh to avoid glare.
Learning these lighting setups becomes easier when you take structured photography classes. Understanding the science of light is a key part of any photography school curriculum.
Read Also: Street Photography 101: Gear, Settings & Legal Tips You Need to Know
Composition Tips for Product Photography
Composition refers to how elements are arranged in a photo. A well-composed image attracts attention and communicates the product’s value clearly.
Use the Rule of Thirds
Divide your frame into nine equal parts. Place the product along these lines or at the intersections to create a balanced and engaging image.
Show Different Angles
Customers want to see every side of a product. Shoot from the front, side, back, and top. For complex items, show close-ups of features.
Use Negative Space
Leave space around the product to make it stand out. This also helps if you plan to add text or edit the image later.
Keep It Simple
Avoid cluttered backgrounds or too many props. Let the product be the hero of the frame.
Still photography demands patience and a keen eye for detail. These composition techniques will help you showcase products in the best possible way.
Editing Tricks to Enhance Product Photos
Even the best photos benefit from a little editing. Post-processing helps correct colors, remove dust spots, and create a polished final image. Here are some easy tricks:
Read Also: Nature & Wildlife Photography: How to Get the Perfect Shot
1. Cropping and Straightening
Align your product properly and remove any unwanted background areas. Most editing apps have crop and straighten tools.
2. Brightness and Contrast
Adjust brightness to make the photo look vibrant. Increasing contrast helps the product stand out against the background.
3. Color Correction
Ensure the colors in the image match the real product. Use white balance tools to correct any unnatural tones.
4. Remove Background
For a clean, professional look, remove the background using tools like Photoshop, Canva, or mobile apps. A white or transparent background is often preferred for e-commerce listings.
5. Sharpen the Image
Apply a slight sharpening effect to make the product details pop. Be careful not to overdo it, as it can make the image look grainy.
Taking a photo editing course can really boost your skills in this area. Editing is where good product photos become great product photos.
Common Mistakes to Avoid
Even experienced photographers make mistakes. Here are a few to watch out for:
- Inconsistent lighting: Always aim for uniform lighting to avoid confusing shadows.
- Distracting backgrounds: Keep the focus on the product.
- Low resolution: Use high-resolution images so they don’t look blurry on larger screens.
- Overediting: Subtle edits enhance, but overprocessing can make the image look fake.
- Ignoring product angles: Customers want a 360° view of what they’re buying.
Product Photography for Different Categories
Read Also: The Importance of Lighting in Photography: How to Capture Stunning Photos
1. Fashion and Apparel
Use mannequins or models. Iron clothes before shooting. Use even lighting to show textures and colors clearly.
2. Jewelry
Use macro lenses to capture fine details. Lighting should reduce reflections and highlight shine.
3. Electronics
Highlight screens and ports. Use props to show scale (like a hand holding a phone).
4. Food Products
Capture freshness and colors. Use props like cutlery, napkins, or ingredients to add context.
If you are studying film still photography or taking up photography as a course, experimenting with various product types will help you understand how to work in different environments.
Building a Photography Portfolio
As you grow your skills, it’s important to build a portfolio of your work. Include:
- High-resolution images of different product types
- Before and after shots (unedited vs. edited)
- Examples of different lighting styles
- Photos that show your ability to style and compose effectively
If you’re pursuing a diploma in photography, you may be required to submit a final project or portfolio. This is also useful if you’re looking for freelance gigs or jobs in e-commerce.
Learning Product Photography Professionally
There are many ways to learn product photography—from online tutorials and workshops to professional photography classes. If you’re serious about mastering the craft, enrolling in a photography school can provide hands-on experience, mentorship, and feedback.
Read Also: Top 10 Types of Photography You Should Know in 2025
Topics usually covered include:
- Camera techniques
- Lighting design
- Composition
- Editing software
- Portfolio building
Whether you’re interested in still photography for e-commerce, film still photography, or creative projects, formal training helps you refine your skills.
Final Thoughts
Product photography plays a crucial role in building an online brand. It’s not just about taking pictures—it’s about storytelling through images. With the right setup, lighting, and editing tricks, anyone can create compelling visuals that connect with customers.
If you’re passionate about visuals and enjoy capturing details, product photography could be the perfect niche for you. And if you’re looking to deepen your skills, consider structured training or even a full photography course or photo editing course to take your creativity further.
To learn more about professional photography education, you may explore programs offered by AAFT, a reputed institution known for its creative arts training.

AAFT has been providing the world with limitless creativity and expression since 1993! Through a dynamic and industry-driven curriculum, AAFT provides engaging and captivating articles to persuasive blogs and empowers its readers to explore diverse avenues of creative media education-related content.


