Top 10 Photography Techniques to Boost Your Skills
Every second, 61,400 photos are taken globally, yet only a few truly stand out. What makes them so exceptional? Is it the camera quality, expensive gear, or high resolution? No, it’s the right lighting, composition, and technique. Photography isn’t just about button clicking; it’s an art that demands specialized skill through renowned Photography Courses Near Me.
Top 10 Photography Techniques
Whether you are a beginner or an aspiring professional, mastering key techniques can elevate your photography prowess from ordinary to extraordinary. This blog will share the 10 must-know techniques that will enhance your photography skills by enrolling in the top Photography Courses Near Me.
1. Use Natural Lighting
Photography is more reliant on natural lighting than its camera quality. Natural light helps improve the subject’s visibility and adds an appealing aesthetic. For many aspiring photographers, it’s important to understand the science of natural lighting. As a general formula, the best photography’s natural light is within one hour after sunrise and before sunset.
At this time, the sun is almost 10 to 30 degrees (season and location-dependent), which helps photographers capture the finest moment precisely. Contrarily, at noon, the sun is overhead, which creates excessive lighting on the head. This causes harsh shadows and makes the photo unflattering.
2. Understand the Rule of The Third
The Rule of Thirds is the fundamental composition in photography, which helps photographers align their subject components within the frame. Instead of a plain Viewfinder, the Viewfinder is divided into a 3X3 grid. This way, more detailed subjects such as beautiful scenery, multiple animals, or a beach can be accurately captured.
Read Also: Exploring Minimalism in Photography: Less Is More
However, it’s important not to centre the subject right in the middle to avoid a too natural look, as suggested in the top renowned Photography Courses.
3. Focus on Composition
Composition is fundamentally arranging elements within your frame to create a visually appealing image. For any photographer entering this Fine Arts profession, you must be able to identify the frames, fine lines, symmetry and negative spaces around you. For instance, you are taking a landscape photograph of a man standing near a beach.
To this, you can take the beach horizon as the fine-line background for enhanced and professionalized work. Moreover, if a boat is in that frame (for example), try to keep it as close to the natural flow of the scene as possible.
In another scenario, you take the same person’s photo inside a room. This time, you can utilize the window panes behind the frame, giving the photo a more aligned, cleaner, and aesthetically appealing look. It’s more about how you utilize the elements within the frame to make your photography captivating.
4. Optimize White Balance
While Balance (WB) optimization is a key concept in Photography Course. It helps them adjust the image’s colour cast, making it more natural and realistic.
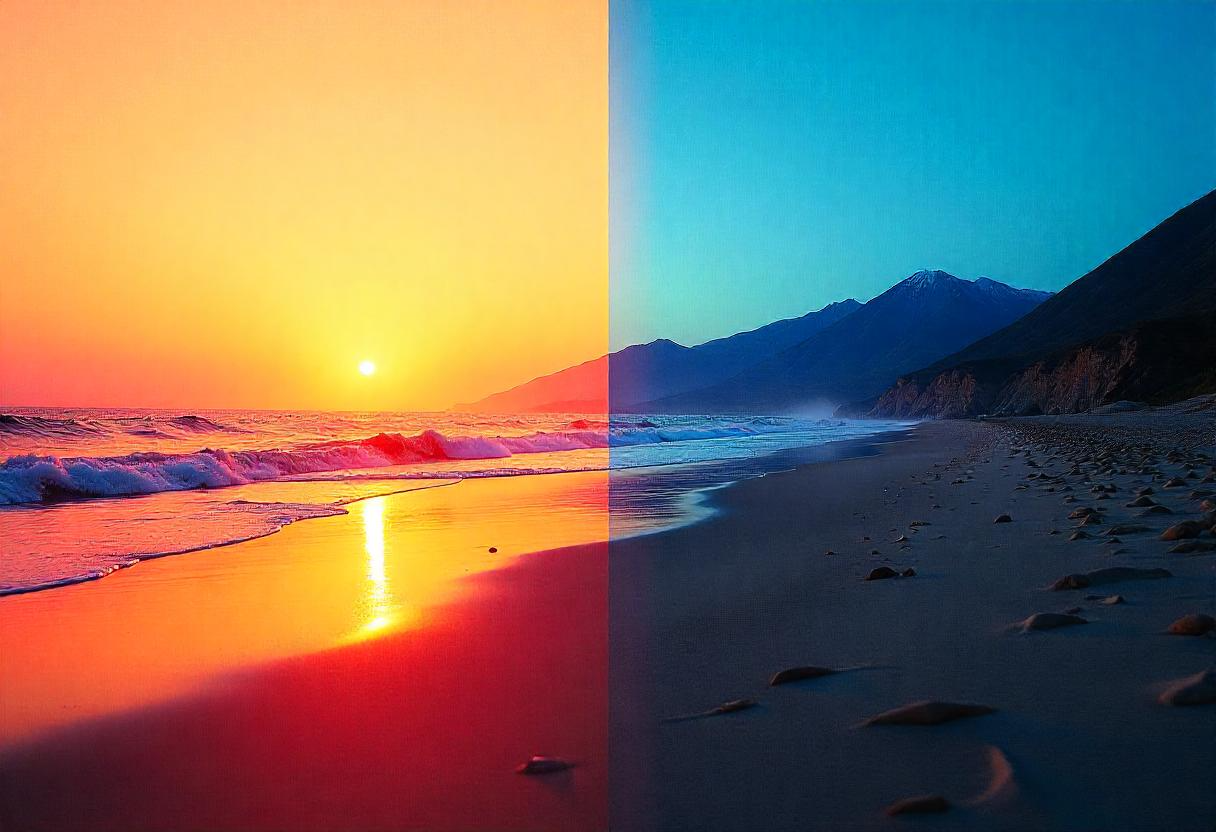
There are basically two units of white balance: a warm tone and a cool tone-warm tone is the orange and yellow shades (e.g., sunshine) while cool tone blue shades (like during a snowfall).
Read Also: Product Photography for E-Commerce: Setup, Lighting, and Editing Tricks
This way, the different color shades rendered will be very much pleasing to the eyes and very much in tune with the image. Although most modern cameras have Auto White Balance to fall back on, there’s still a long line of cameras that do not have this feature. Hence, you may need to do this manually. Therefore, you may adjust it manually. In such case, you should understand,
- Daylight: Warmer tones for shooting in direct sunlight.
- Cloudy: Adds a warm cast to counteract the overcast light’s coolness.
- Tungsten (Incandescent): Reduces the indoor lighting’s yellow-orange glow.
- Fluorescent: Compensates for the excessive bluish-green hues.
- Flash: Balances the cooler light from flash photography.
5. Shoot in RAW format
If your camera supports this feature, it’s always recommended to shoot in RAW instead of JPEG mode. RAW mode preserves the finer details and provides photographers with more flexibility and control over their post-photo editing. In addition, one has the facility of changing brightness, white balance, contrast, and saturation with ease. Although this mode uses more memory, it can be a real asset to a photographer who is serious about making it big in their field.
RAW files offer unprocessed, uncompressed data levels from the camera’s sensor, enabling greater editing precision. Therefore, professionals can easily recover detailed shadows and highlights, resulting in highly detailed final images. Additionally, shooting in RAW helps maintain the integrity of colors, which is crucial for photographers who require higher coloring accuracy and have completed their Photography Course Near Me.
6. Stop Centering All Your Photographs
Photograph centering might seem a natural idea for many photographers. Moreover, it may work sometimes, but in the long-term, it makes the image more predictable, static, and vague when overused. It basically means keeping the subject away from the centre point, helping guide the viewer’s eyes along the entire photograph. This adds balance, interest, and more creative usage of natural space.
Read Also: Golden Hour vs. Blue Hour: Which is Better for Photography?
The centred composition works best during,
- Portraits with symmetry (e.g., face close-ups, architecture).
- Minimalist photography, where balance is key.
- Reflection shots where symmetry is a crucial element.
7. Experiment with Depth of Field
You may have heard of the Bokeh Effect in Photographies. The core concept behind it lies in Depth of Field. It refers to how much your photo is in focus. For shallow Depth of field, only the required subject is in focus.
For example, clicking someone’s photo where the surroundings are blurred. In contrast, for deep Depth of field, the entire image is focused and clear without pixelation.
To make these changes, the aperture should be f/1.2 to f/2.8 (for shallow background blur), f/3.5 to f/5.6 (for moderate background blur), and f/8 to f/16 (for deep background blur and maximum sharpness).
- f/1.2 to f/2.8: Ideal for portraits, close-ups, and low-light photography
- f/3.5 to f/5.6: Good for street photography and some wildlife shots
- f/8 to f/16: Perfect for landscapes, architecture, and group shots
8. Post-Processing Skills
If you want to take your photography to the next level, mastering post-processing skills is essential. Whether you are fine-tuning colors, adjusting exposure, or sharpening details, post-processing gives you the power to enhance your images while maintaining a natural look.
Read Also: Street Photography 101: Gear, Settings & Legal Tips You Need to Know
This editing software, Adobe Lightrooms, and Photoshop enable photographers to process their captures in such a way that the white balance, contrast, and saturation are adjusted to such perfect degrees, offering heavenly tones. Cropping and straightening images are refining most compositional techniques such that they borrow noise reduction from images taken in low-light conditions, which makes great images suitable for low-light situations.
Advanced techniques, such as layer masking and colour grading, elevate straightforward shots into masterpieces, are added to this. Post-processing has no compensation whatsoever for good photography techniques; however, it provides a wonderful means to achieve the best possible shots. Learning these will pay off in spades, for the time acquired on them will dramatically change the end result of your work.
9. Look at Other Photographer’s Works
It’s always a wise move to look into other photographers’ work. Look online for your photography niche and the related acclaimed professionals in this domain. Analyze what draws you to their work, what you think could be improved upon, and what you might incorporate into your own work to better your photographic skills. However, ensure not to get too involved, as you might lose track of your work.
Read Also: Nature & Wildlife Photography: How to Get the Perfect Shot
Following their work is highly important for a growing professional. For this, there are multiple online platforms like Flickr, Behance, and Unsplash, apart from enrolling on a Photography Course. This implies not just in photography but also as a Fine Artist, Sculptor, and (not limited to) Actors.
10. Practice, Practice, Practice!
At last, nothing can beat practice! The more you practice, the more proficiency you can gain in this field. We know it seems tiresome, daily–life repetitive, and slightly boring at first. But believe us, hardcore practice can take you where skills and smart work won’t!
Get started with your practice with the accredited Photography Course Near Me from AAFT—a reputed organization that provides value-driven and accredited courses across India. To read more about AAFT, refer to OUR HISTORY. Feel free to ask any questions or have any doubts in the CONTACT US section! We look forward to a remarkable academic journey with you!


